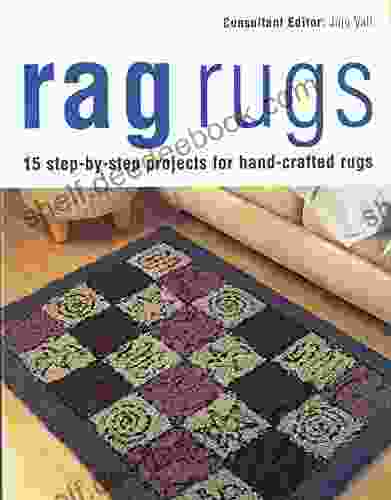
: Embark on a Crafty Journey of Rug Making
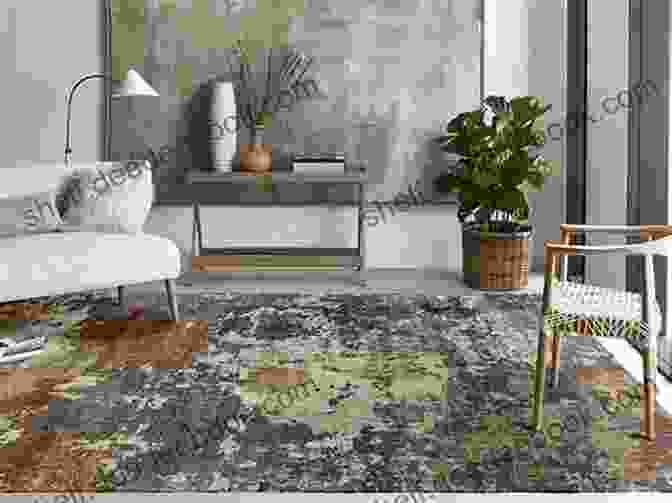
Embellish your living spaces with the allure of hand-crafted rugs, a testament to your artistic flair and cozy aesthetics. This comprehensive guide unveils 15 captivating projects, each guiding you through the intricacies of rug making with step-by-step instructions. Whether you're a seasoned crafter or a novice seeking inspiration, these projects empower you to transform your home into a sanctuary of comfort and style.
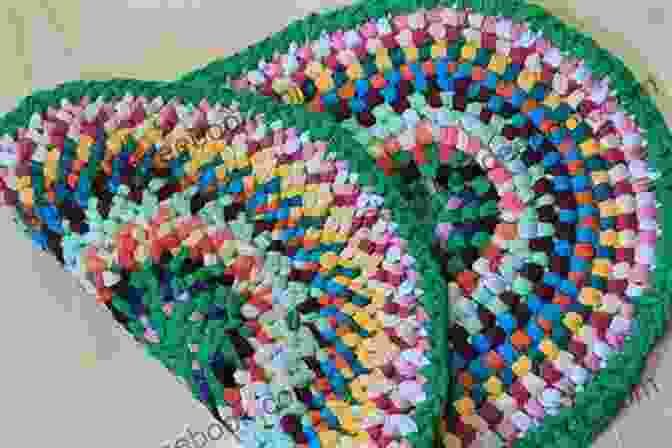
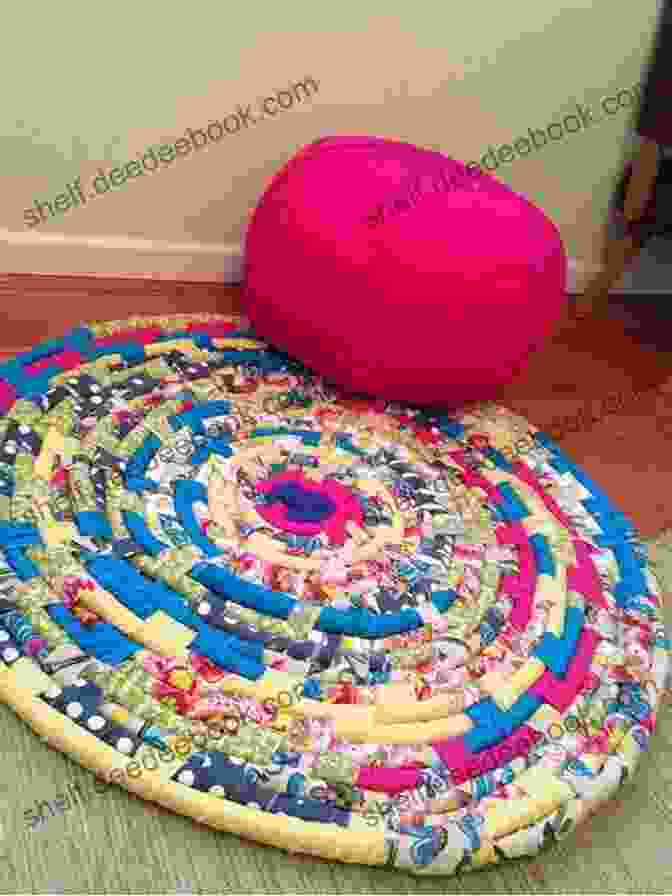
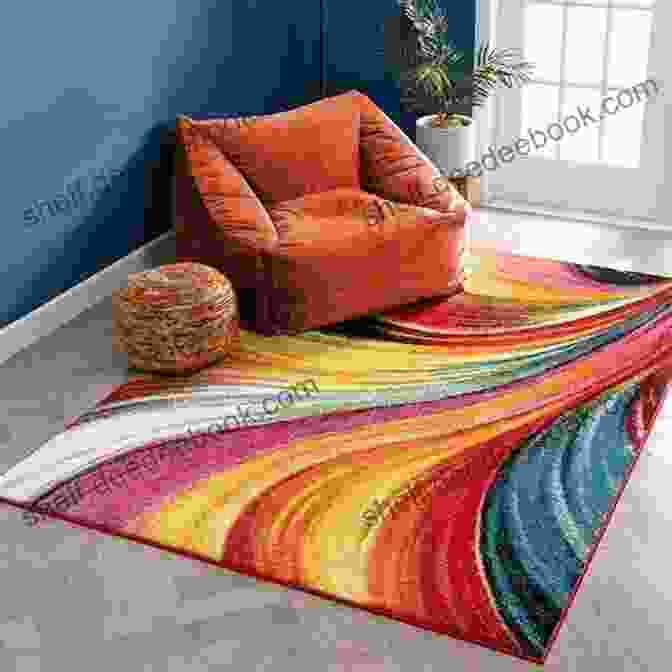
Project 1: Braided Rag Rug - A Burst of Color and Texture
4.5 out of 5
| Language | : | English |
| File size | : | 60028 KB |
| Text-to-Speech | : | Enabled |
| Screen Reader | : | Supported |
| Enhanced typesetting | : | Enabled |
| Print length | : | 361 pages |
Materials:- Old t-shirts or fabric scraps - Scissors - Optional: fabric glue
Instructions:1. Cut fabric strips into equal widths (approximately 2-3 inches). 2. Begin braiding three strips together, securing the ends with glue (optional). 3. Continue braiding until you reach the desired length and width. 4. Join multiple braids together to create a larger rug surface.
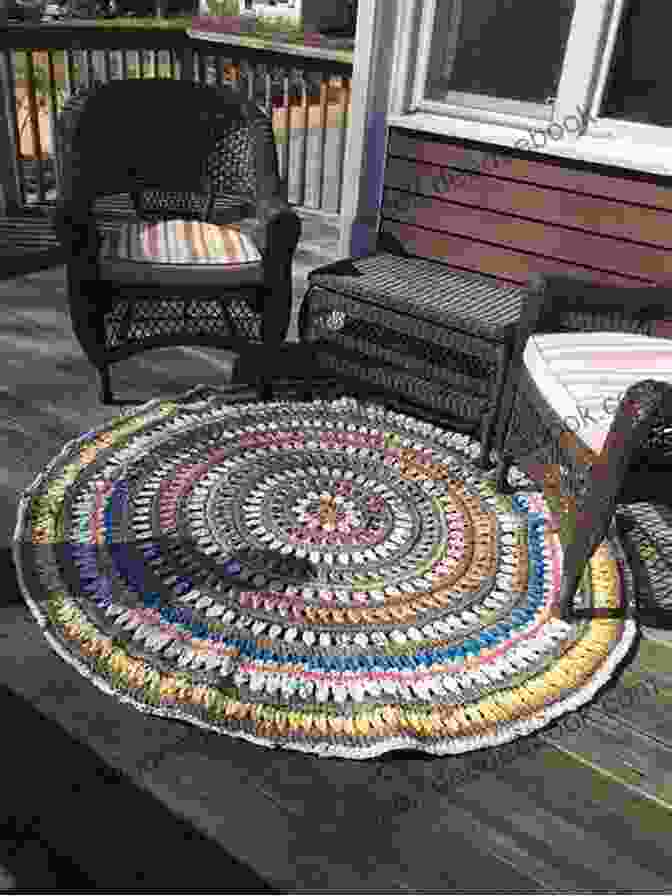
Project 2: Crocheted Rug - A Soft and Cozy Embrace
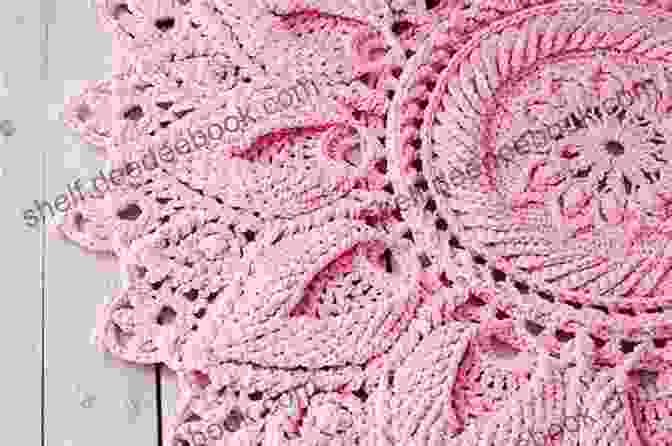
Materials:- Yarn or twine (bulky or medium weight recommended) - Crochet hook (size depends on yarn thickness)
Instructions:1. Create a foundation chain with the desired number of stitches. 2. Work in single or double crochet stitches, following a pattern or your own design. 3. Repeat rows until the rug reaches the desired size. 4. Add a border or tassels for a finishing touch.
Project 3: Knotted Rug - A Tapestry of Rich Textures
Materials:- Fabric scraps or yarn - Canvas or burlap - Hook or awl
Instructions:1. Create loops on the canvas using the hook or awl. 2. Cut fabric strips or yarn into equal lengths. 3. Knot the strips onto the loops, following a pattern or your own imagination. 4. Trim excess threads and secure the knots.
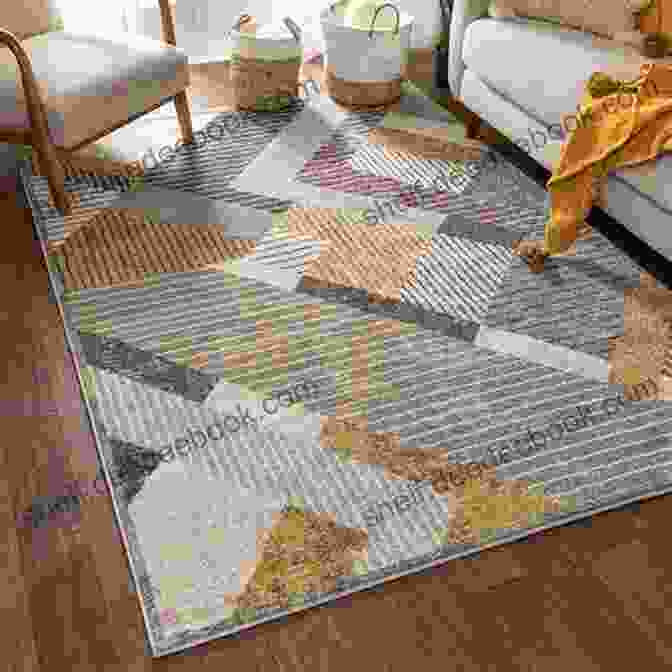
Project 4: Woven Rug - A Geometric Expression
Materials:- Fabric strips (various colors and textures) - Loom or cardboard - Scissors
Instructions:1. Warp the loom or cardboard with strips of fabric. 2. Interweave weft strips perpendicular to the warp, creating a grid pattern. 3. Alternate colors and textures to create a geometric design. 4. Secure the weft strips at both ends.
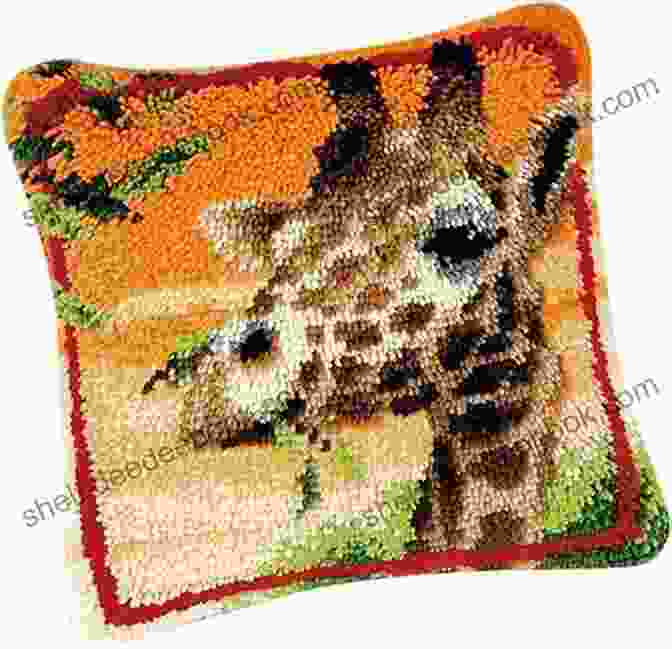
Project 5: Latch Hook Rug - A Punchy and Vibrant Creation
Materials:- Latch hook tool - Canvas or burlap - Yarn (cut into small pieces)
Instructions:1. Secure the canvas onto a frame or use an existing rug. 2. Thread the yarn onto the latch hook tool. 3. Insert the hook through the canvas and create a loop. 4. Wrap the yarn around the hook and pull it back through, securing the loop. 5. Repeat steps 3-4 until a design is formed.
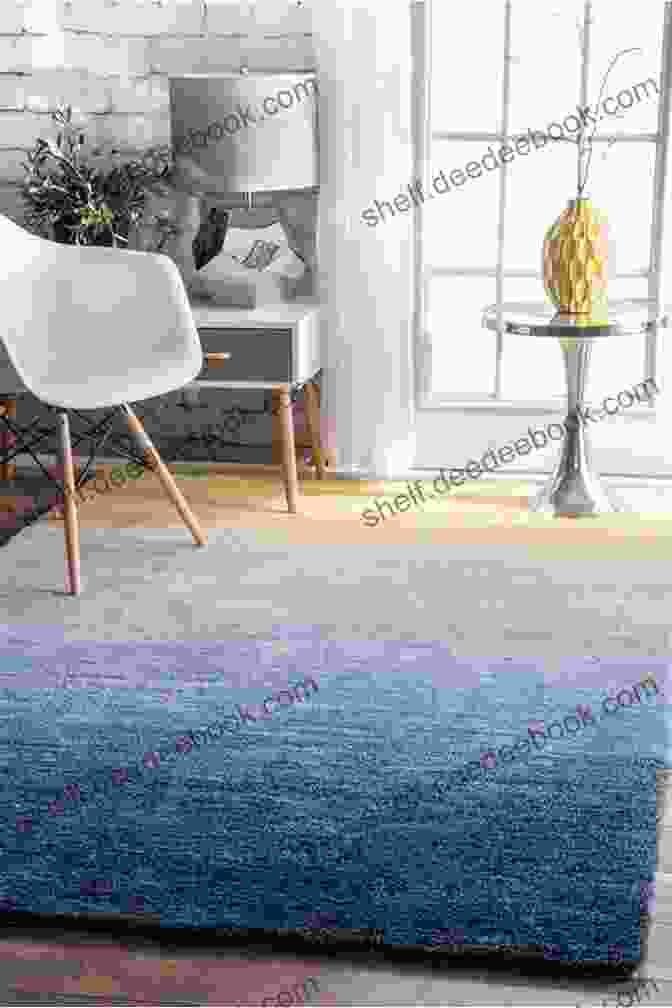
Project 6: Tufted Rug - A Shaggy and Luxurious Delight
Materials:- Tufted fabric backing - Yarn or roving - Tufting gun or needle - Scissors
Instructions:1. Stretch the tufted backing onto a frame. 2. Cut yarn or roving into strands. 3. Using a tufting gun or needle, insert the strands into the loops on the backing. 4. Trim the tufts to create a uniform surface.
Project 7: Punch Needle Rug - A Modern Take on Embroidery
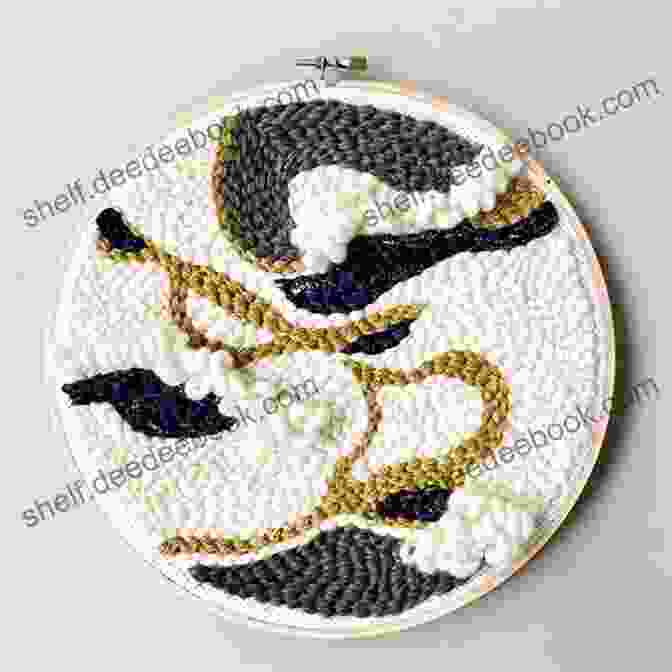
Materials:- Punch needle tool - Canvas or monks cloth - Yarn (worsted weight or thicker)
Instructions:1. Stretch the canvas onto a frame. 2. Thread the yarn onto the punch needle tool. 3. Insert the needle through the canvas and create a loop. 4. Pull the needle back through, creating a raised stitch. 5. Repeat steps 3-4 to create a design.
Project 8: Rag Hooked Rug - A Vintage Charm with a Twist
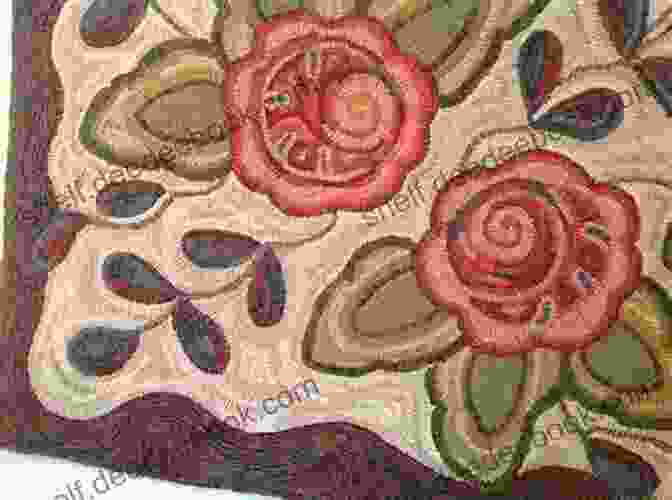
Materials:- Wool or cotton rag strips - Burlap or canvas - Rag hooking tool
Instructions:1. Cut rag strips into uniform widths. 2. Stretch the burlap or canvas onto a frame. 3. Using a rag hooking tool, pull a strip through the canvas, creating a loop. 4. Wrap the strip around itself and pull it back through the loop. 5. Repeat steps 3-4 to create a looped surface.
Project 9: Pom-Pom Rug - A Playful and Pompous Addition
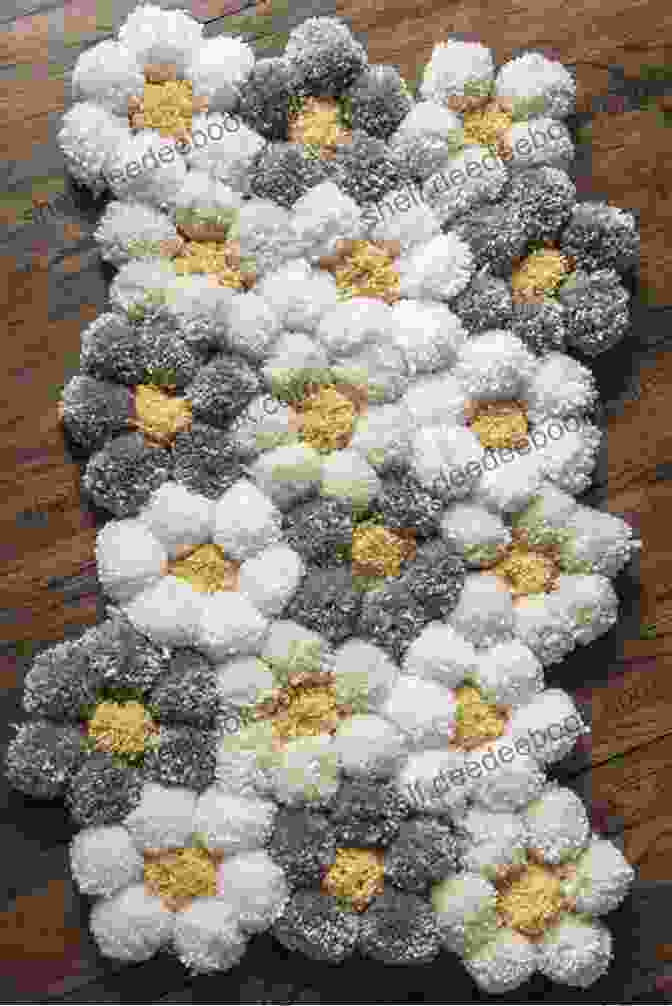
Materials:- Yarn - Pom-pom maker - Canvas or burlap
Instructions:1. Create pom-poms using a pom-pom maker or fork. 2. Cut excess yarn. 3. Attach pom-poms to the canvas or burlap using glue or threading. 4. Arrange pom-poms in a desired design.
Project 10: Fabric Scraps Rug - A Patchwork of Memories
Materials:- Fabric scraps in various colors and textures - Quilt batting or carpet padding - Sewing machine or needle and thread
Instructions:1. Sew patches together to create blocks. 2. Arrange blocks in a desired design. 3. Sandwich quilt batting or carpet padding between the patches. 4. Sew the layers together, quilting or hand-stitching them for durability.
Project 11: Painted Canvas Rug - A Burst of Artistic Expression
Materials:- Canvas drop cloth or heavy canvas - Acrylic paints - Brushes
Instructions:1. Paint the canvas with your desired design. 2. Allow the paint to dry thoroughly. 3. Seal the rug with a clear sealant to protect the design.
Project 12: Recycled Plastic Bag Rug - A Sustainable Statement
Materials:- Plastic grocery bags (cut into strips) - Hook or awl - Canvas or burlap
Instructions:1. Create loops on the canvas using the hook or awl. 2. Cut plastic bag strips into equal lengths. 3. Insert plastic strips into the loops, creating a woven pattern. 4. Secure the ends of the strips by tying them together.
Project 13: Sisal Rug - A Naturalistic Texture
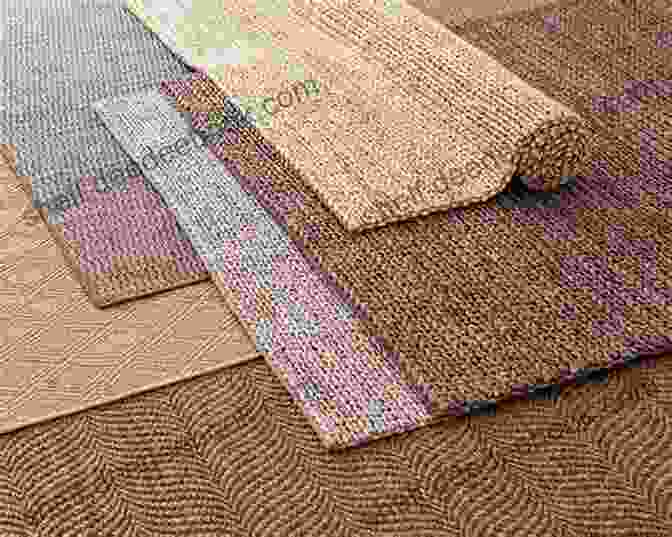
Materials:- Sisal twine - Rug loom or sturdy fabric - Scissors
Instructions:1. Warp the loom with sisal twine. 2. Interweave weft strands perpendicular to the warp, creating a plain weave. 3. Secure the weft strands at both ends. 4. Brush or vacuum the rug to remove any loose fibers.
Project 14: Sheepskin Rug - A Luxurious and Cozy Addition
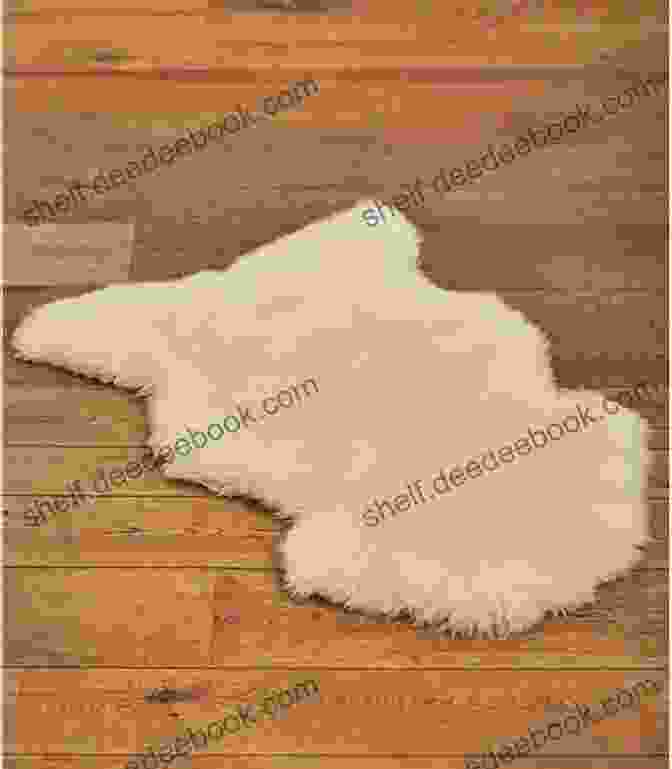
Materials:- Sheepskin pelt - Scissors or knife
Instructions:1. Remove any excess fat or flesh from the pelt. 2. Wash and dry the pelt according to the manufacturer's instructions. 3. Trim any uneven edges or excess hair. 4. Place the rug in your desired location and enjoy its luxurious feel.
Project 15: Fabric Collage Rug - A Tapestry of Textures and Patterns

Materials:- Fabric scraps in various colors and textures - Fabric glue - Canvas or burlap
Instructions:1. Cut fabric scraps into desired shapes and sizes. 2. Arrange the scraps on the canvas or burlap, creating an abstract or geometric design. 3. Glue the scraps into place. 4. Allow the glue to dry thoroughly.